Cambridge Polymer Labs (Quest)
Thank you for printing this page from www.SuperCheats.com.
Remember to come back to check for updates to this guide and much more content for Fallout 4
Follow this guide to hear about updates
Last Updated:
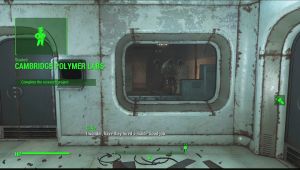
First, find the Cambridge Polymer Labs. Once inside, you can talk to the robot named Molly. Here she'll interview you, mistaking you for an applicant. After passing the interview, you'll have to head to the orientation room. You don't need to listen; just sit and wait for an hour and talk to Molly again. She'll then offer to tour you around the facility.

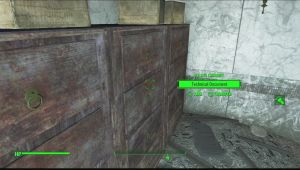
f you have already talked to Proctor Quinlan of the Brotherhood of Steel, you'll find several technical documents in the filing cabinets here so make sure to check them all out. There's also a master-locked double-door in the middle of the second floor.
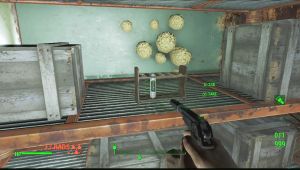
Once done looting the place, follow Molly to the Clean Room. Mandatory lockdown will be implemented which will also activate an optional task to find a way to escape the lab. This will start the sidequest. There are feral ghouls in the area so expect a small firefight.
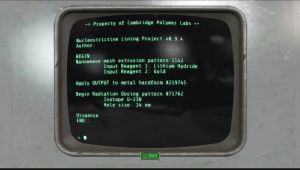
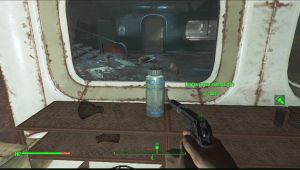
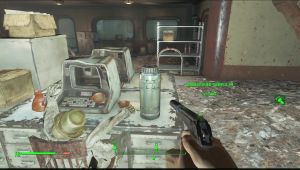
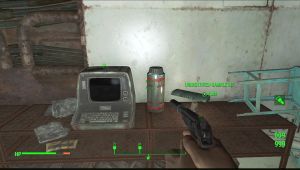
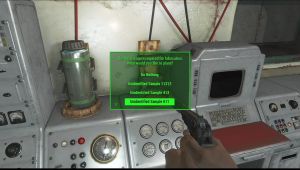
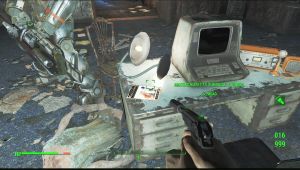
Leave the clean room through the Hole in the Wall then head to the next room. Examine the console and select to “Check Current Fabrication Parameters”. It will say that for Reagent 1: Lithium Hydride and Reagent 2: Gold. You have to find these reagents inside containers scattered within the building. Most of these are unidentified so you have to load them to this same console and Scan them using the console option.
Ground floor, storage room west: Sample 3111 on the shelf. There's also a Hazmat Suit and two metal containers in the same room.
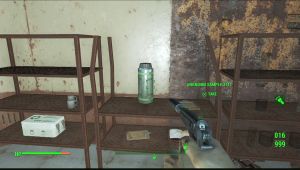
Ground floor beside PCA machine: Sample 11317
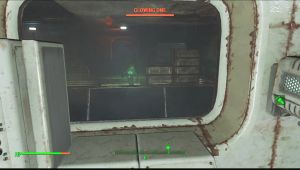
Ground floor, laboratory west: Sample 413 on the low shelf beside the beaker and beaker stands. In the following room, you'll find Sample 65 on a table between two machines. In the same room, you can use the Novice terminal to unlock the Isotope Containment Room with a Glowing One inside.
Isotope Containment: In the ground floor, north, kill the glowing one inside then retrieve the U-238 canister from the shelf. This is a highly irradiated room so don't linger for long. This is one of the key items for the experiment.
Second floor, eastern room: There's a chem station in the small room and Sample 49 on the table beside a skeleton. From there, you can go up the fallen ceiling as a ramp then follow the ceiling path to reach the western room.
Second floor, western room: Kill the feral ghoul in the same room. You can get Sample 611 beside the terminal. Examine Bergman's terminal. If you selected to override the security, all robots, including Molly will become hostile. If you destroyed Molly, don't forget to loot the CPL key from her wreckage. Also, the quest will be tagged as “Completed” but the main objective which is to “Complete the Research Project” will still remain active. You can use it to open the master-locked door in the second floor lobby. On the table beside the terminal, there's also a Radioactive Containment Password holotape. (This can be used on the locked containment room in the ground floor; worthless if you already lockpicked it.) Leave the room by opening it using the terminal. You may also need to destroy the turrets if you overridden the security systems.
Once done, head back to the Polymer Coating Applicator, starting from the left, place sample 3111 and sample 611 to the right. Next insert the isotope sample on the small holder to the right. Use the terminal again then scan the loaded reagents. Then select “Run Loaded Fabrication Routine”.
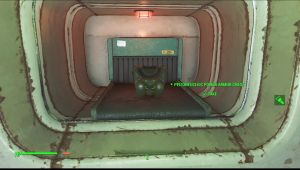
Wait for the fabrication to finish then go to the nearby dispenser and pick up your prize: The Peizonucleic Power Armor Chest.
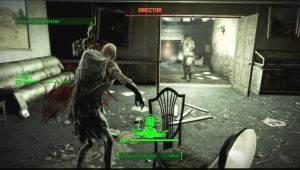
Head to the second floor and unlock the room. Kill the director inside and get the issue of Massachusetts Surgical Journal on the director's table. There's also a fusion core in one of the broken displays in the corner of the room.
Anything missing from this guide?
ASK A QUESTION for Fallout 4
Comments for Cambridge Polymer Labs (Quest)
Add a comment
Please log in above or sign up for free to post commentsNo comments yet. Tell us what you think to be the first.
Table of ContentsClose
- Tips and Tricks
- Act I Quests
- Act II Quests
- Act III - Minutemen Main Quests
- Act III - BoS Main Quests
- Act III - Railroad Main Quests
- Act III - The Institute
- Side Quests
- Minutemen Sidequests
- Brotherhood of Steel Sidequests
- Railroad Sidequests
- Institute Sidequests
- Companions
- Companion Quests
- Perks
- Bobbleheads
- Magazines
- Major Locations
- Locations
- Workshop Locations
- Other Locations
- Workshops
- Crafting
- Crafting Components
- Legendaries
- Trophies
- Misc
Guide Updates
Get notified of updates to this guide
Many of our guides get updated with additional information. To get an email when this guide is updated click below.
 Join us on Discord
Click to close